I live in Essex and I had to wait nearly 3 years to get my allotment, 3 years of growing in pots and containers. So when my offer for an allotment in my area came through I jumped at it. I soon started to realise how much I didn’t know, what I needed was allotment ideas for beginners.
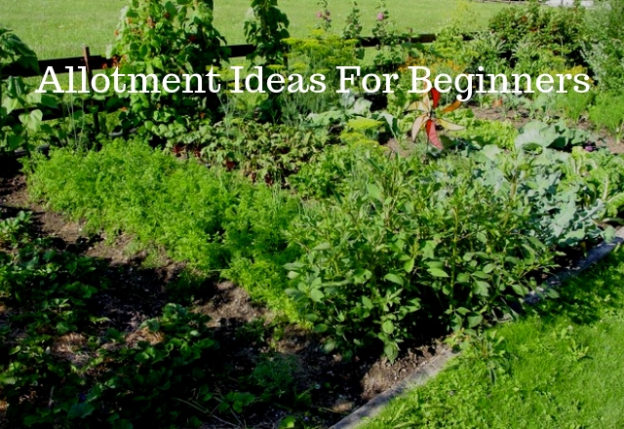
Allotment Ideas For Beginners
So here’s my top tips for allotment newbies, some will be obvious and some not so, but I hope they help you on your allotment journey. The first thing I’ll say is you’re in a marathon, not a sprint. So take things slowly, make realistic goals, and little and often is the key to success.
Starting A New Allotment
Depending on your luck you will either have inherited a weed bed or a wealth of established plants. Mine was a mixture of the 2, I had some raspberries, some strawberries and a mountain of weeds. With all the weeds growing on the plot at least I knew the soil was fertile.
Now I knew nothing at all about raspberries, but fortunately for me my neighbouring allotmenteer was at hand to put me right. He also advised me on what types of crop to grow, and which varieties worked best in my area. On top of this he shared his over flow vegetables with me, and still gives me good advice.
Allotments For Beginners
Never be afraid to admit you don’t fully understand what your supposed to be doing. We were all beginners once, and most people will be only too happy to give you advice. Only a fool thinks they know it all and it’s better to feel stupid at the beginning than when it all goes wrong.
Make detailed notes on what you sow and where and when you sow it. Check plants regularly for disease or insect infestation, and water and feed when necessary. Make a plan before you sow anything and stick to it.
Allotment Tips And Ideas
Here are a few of the basics to get you started when starting an allotment.
Walk Around Your Plot
This should be the very first thing you do on arrival at your allotment. Not only on your first visit to check what plants (if any) you have that can be saved. But every time you visit your plot, check for weeds, plant growth, insect damage/infestation, soil condition including moisture content.
Take It Steady
Depending on the size of the plot you have, it can seem a bit daunting, but just remember it doesn’t all need doing at once. Set yourself realistic tasks, for instance if you have a large area to weed break it down into square yards (metres). Finish one and see how you feel, if you think you can do another square yard then go for it, if not have a rest.
It will all still be there on your next visit, so you can tackle a bit more then. I see it all the time, new plot owners doing too much on day 1 and never returning. So as the old saying goes…
“Slowly, slowly wins the race”.
Make A Plan
On your first visit you should make a plan of what you have in place, in my case it was raspberries and strawberries. You might be lucky enough to have a shed or compost bins etc… Just draw a rough sketch of what you have and the rough shape of the plot.
This will be invaluable for planning how you want your plot to look, and where you want to site sheds, compost bins, perennial plants like rhubarb and so on. Don’t try to do this straight away, go home and think about it over a cup of tea. In theory the decisions you make now are going to be in place for many a year so take the time to get it right.
Speak To Neighbouring Plot Holders
As I said earlier your neighbours will be only too pleased to give you advice on what to grow and which varieties do best. This is the stuff you can’t learn in books or on line, use their experience or waste time and money finding out the hard way. Us gardeners are on the whole a friendly lot and there’s nothing better on a mild, winters day than sharing tales of past successes or failures.
The only exception to this rule are the competition growers, they like to keep everything to themselves, but thankfully they are few and far between.
Check The Soil
You can get all technical and buy expensive or confusing sets that remind me of chemistry lessons at school. Or you can dig a small hole and have a quick look at the soil.
Sandy Soil
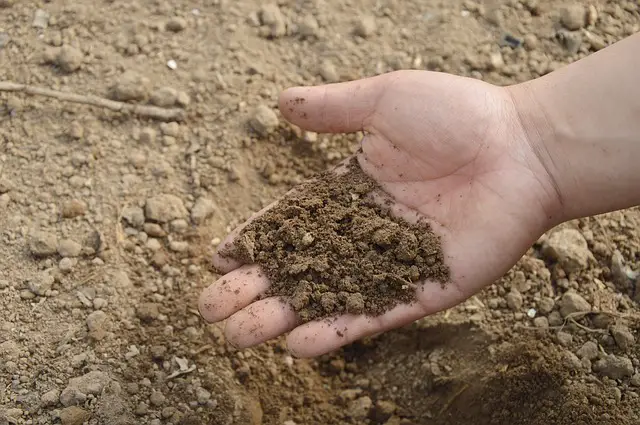
If it’s crumbly and gritty, it’s what’s known as sandy soil. This will drain quickly and not get waterlogged, it will warm up quickly in Spring time and start seeds growing fast.
The trouble with sandy soil is it dries out quickly and won’t hold water, meaning plants are more likely to wilt in hot, dry spells.
Clay Soil

The opposite to sandy soil, is clay soil and there are 2 ways to identify it. If in Summer the soil is dry with large cracks running through it, or in winter the soil is waterlogged and when you hold some in your hand and roll it into a ball it rolls easy and holds it’s shape. Then it’s clay soil, there are some advantages to clay soil, it holds moisture better than sandy soil, and it contains more beneficial nutrients.
Whatever soil type you have, you’re stuck with it but it’s not the end of the world as both types can be improved. In fact all soil will be improved by adding compost or well rotted manure to it.
Improving The Soil

If you’re just starting out, and you don’t have any home made compost, you can still improve your soil easily and relatively cheaply. Bags of compost can be purchased for about £2.00 for 50 litres ( 11 gallons) and just top dressing your plot with this will give it a good boost. I have a strawberry farm not far from me and their spent compost is 10 pence a bag.
So look for mushroom producers, or strawberry farmers, or and this is most likely, stables. Most stables produce much more manure than they can handle and are only too pleased for you to take it off their hands. Don’t use manure until it is well rotted, keep it in a pile or in the bags it came in until it is ready to use.
I keep mine for upwards of 6 months before using it. The reason for this is if it’s used too soon it can damage your plants, it can also contain weed seeds , and in some cases it can contain harmful pathogens. None of this is a problem if you allow the manure to rot down fully before use.
Or apply fresh manure at the beginning of winter, when the ground will remain fallow until spring. This gives the worms time to pull the manure down through the soil converting it to improve the soil. But as a quick fix top dress with compost.
Dealing With Weeds
There are 2 types of weeds and they need treating in different ways. You could reach for the chemical herbicides and spray the lot, the problem with that is the chemicals harm the soil and not just the weeds. I am completely organic on my plot my reasoning is if I’m going to use chemicals I might as well just buy supermarket vegetables.
Annual Weeds
These plants are fairly easy to deal with, just hoe on warm days and the sun will shrivel them. Or cover the area with black plastic and the lack of daylight will starve them. They have short roots and produce seeds quickly so you need to keep on top of them.
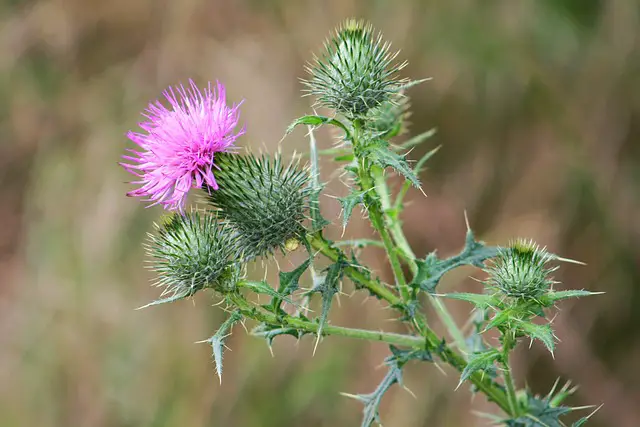
Perennial Weeds
Not so easy to deal with these plants, they tend to have long tap roots and unless you get every piece they will regrow. Even chemicals don’t always deal with these either and depriving them of light will take at least 2 seasons to eradicate them. Brambles can grow 3 inches (7 cms) per day, and have sharp spikes so take care when tackling them.
If you’re on a budget, cover the area with cardboard or newspapers soaked in water and cover with a mulch of straw or compost or even grass cuttings.
So weeds dealt with, ground cleared, it’s time to make that plan.
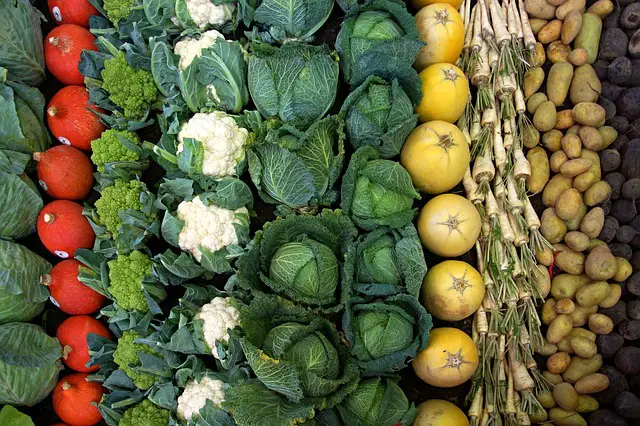
Plan The Plot

To keep pests and diseases in the soil to a minimum, you need to rotate your crops every year. Basically there are 4 types of plants, Legumes (peas and Beans), Root Crops, Brassicas (Cabbages, Cauliflowers, etc…), and all other plants including Squash, Potatoes, Tomatoes etc… By rotating these 4 groups annually you get less problems.
For instance if you keep growing onions in one place the pests that feed on onions will build up in the soil and your crops will fail. So the 4 crop rotation is a good way to prevent this from happening. I also find mixing it up a bit stops the pests from finding your plants as well.
Companion Planting
Growing plants to improve the growth of your crops, or to confuse the pests, or as sacrificial plant, is known as companion planting. In recent years there have been many scientific studies done on companion planting and it has been proven to work. To find out more about companion planting click here.
10 Helpful Tips When Starting A New Allotment
# 1 Improve your Soil
It all starts with the soil, add bought compost or your home made compost. Use well rotted manure. Healthy soil means healthy plants.
# 2 Use A Crop Rotation Method
By rotating your crop types, you will stop the build up of diseases or pests in your soil. A simple crop rotation can be found here.
# 3 Keep Your Eyes Open
Walk around your plot and look at your plants. Most problems can be easily dealt with if caught early enough.
# 4 Keep Your Plants Healthy
Never over crowd your plants, companion plant where possible and water and feed your plants regularly. Don’t over feed or water, too much is just as bad as not enough.
# 5 Take Quick Action Against Pests
Use deterrents against slugs and snails and other invading insects like aphids . Look at using predatory insects instead of chemical pesticides as these are indiscriminate and kill the beneficial insects as well.
# 6 Encourage Beneficial Insects To Your Plot
Make your plot inviting for predatory insects and animals. Consider the habitats that Hedgehogs, Slow worms, Frogs, Toads, Birds, ladybirds, lacewings, Hover flies, and Parasitic wasps find attractive.
# 7 Use Companion Planting To Keep Pests Away
Instead of growing large blocks of one type of plant, which is like making a big target for pests, mix in different plants to confuse the invaders.
# 8 Local Knowledge
Talk to your neighbours and find out which plants do best in your area. A healthy plant is less likely to be susceptible to disease.
# 9 Dispose Of Plants Wisely
Diseased plants or perennial weeds should always be burnt or taken off site and disposed of. Never add either of these to the compost heap.
# 10 Don’t Over Do It
Take your time, don’t rush at it and burn yourself out. Use your time wisely, think of what you want to achieve and make a plan. Allow enough time to complete the task in hand, and be realistic with your time scale.
10 Basic Tools You Will Need When Starting An Allotment
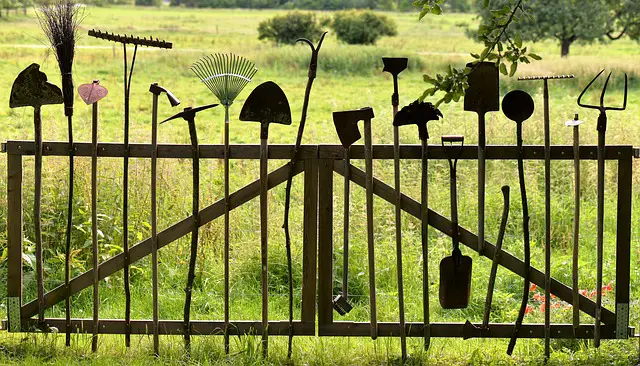
Another list coming up, this one the most important tools you’ll need when first starting your allotment. There are others that are handy but these are the essentials.
# 1 A Spade
This is a must have tool, you’ll need this for digging the plot, and for planting your plants.
# 2 A Fork
Along with your spade, a garden fork makes light work of heavy, wet soils and is great for aerating the soil.
# 3 A Trowel
You’ll need a trowel for weeding, and for planting out seedlings and for many other jobs on the plot.
# 4 A Hoe
A good, clean, sharp hoe is essential for weeding and is great for earthing up potatoes and marking out rows to sow seeds in.
# 5 A Rake
You’ll need this to prepare the soil, making it fine and level enough to sow seeds in. Also handy for clearing up and can be used as a measure and sowing guide.
# 6 A Watering Can
Many sites don’t allow hoses so you’ll need a watering can. Also handy for applying liquid feeds to crops and for adding nematodes to the soil.
# 7 A Pair Of Gardening Gloves
No matter how macho you are, a pair of strong, weather proof garden gloves are essential. You don’t want to be handling animal manure with the possibility of harmful pathogens or sharp brambles with your bare hands. Also very handy on cold, wet and windy days when you just have to do something on the plot.
# 8 A Pair Of Secateurs
Needed for pruning, harvesting some vegetables and fruits and cutting brambles. The better the quality the longer they last and the better suited to the tasks.
# 9 Canes
Used singly to support single plants or for building semi permanent structures to support many plants. Good quality lengths of cane are available at all garden centres for a relatively cheap amount of money. Or you can use metal rods, old lengths of timber etc…
# 10 A Ball Of String
Useful for many things but mainly for tying plants into supports and in constructing plant supports. I use the type that is broken down in the compost heap, as it usually ends up cut instead of being untied.
Extra Useful Equipment For The Allotment
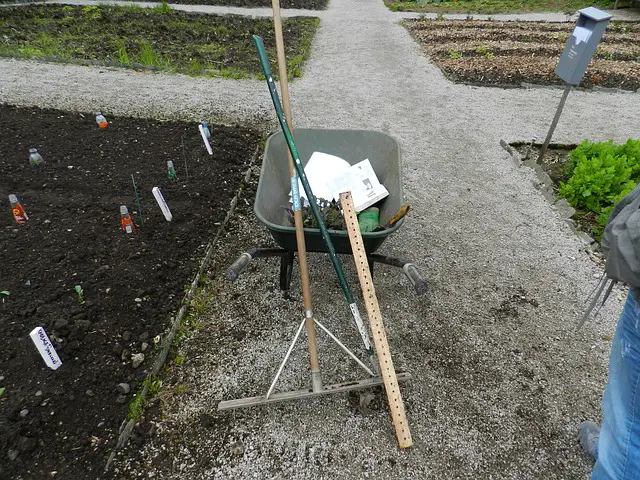
That’s the essentials and will get you started on your gardening journey. You will find that after a while, there are a few more tools that will make your life a lot easier. These include:-
- A Wheel Barrow-There are many uses for the wheel barrow, carrying compost from the heap to the bed, carrying plants from your car to the plot or like me carrying my 3 watering cans to and from the trough.
- A Dibber – This is a piece of shaped wood used to poke holes of various depth into the soil. I often use my hoe handle for this but it does get muddy.
- A Knife – I have a folding pocket knife for cutting string, it saves me losing it if it’s kept in my pocket.
- A Riddle – No not a puzzle, it’s a sieve for getting rid of the lumps in homemade compost or clumpy soil. It makes it a finer soil for sowing seed into.
- A Trug – I bought a plastic trug for £1.99 from my local garden centre at the end of the season one year. It makes me feel like a proper gardener. It’s just a container, like a basket with a handle for collecting produce in.
- A Shed – Somewhere dry and out of the wind for sitting in when it rains. Also somewhere to store your tools, before I made my shed I had to carry my tools to and from the allotment. There’s nothing more limiting than having a job to do and not having the necessary tools handy.
Last Thoughts And Encouraging Words
Don’t be scared to go against what conventional gardeners tell you. Conventional gardening says to grow every thing in rows – Mel Bartholomew disputed that in the 1980s and square foot gardening was born. That’s just one example, if doing things in a different way works for you then go for it.
Experiment with growing techniques and don’t worry if it doesn’t work. Sometimes conventional methods fail, and if that happens, well there’s always next year. Don’t get discouraged, start with something quick like radishes.
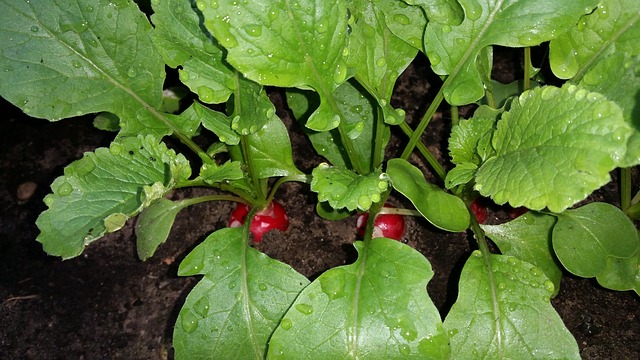
The first crop I grew were radishes, 6 weeks from sowing to lifting, and the most satisfying and tastiest radishes I’ve ever tasted. Before you know it you’ll be growing sprouts, squashes, sweet corn and all the other vegetables and fruits you’ve ever dreamed of (climate permitting). So go for it remember the successes and learn from the failures and most of all enjoy yourself.
Happy growing my fellow allotmenteers and enjoy the fruits (and vegetables) of your labours.