Seeds require heat and moisture to grow, the growing medium isn’t particularly important. What is important is a constant temperature and adequate moisture content. That’s the beginning of this fascinating journey into how to germinate seeds quickly.
What is a Seed?
Any seed from the smallest mustard seed to the largest sunflower seed is an embryo. In it is everything necessary to nurture the life force of the emerging plant. Plants produce seeds to perpetuate their species and like any parent they ensure that the seed has all it needs.
A good example of this are wild birds, we know Spring is close when they start building nests. This is not by accident, they build nests to coincide with warmer weather, which means more insects for food, and conditions will be right for the young to thrive.
What do Seeds Need to Grow?
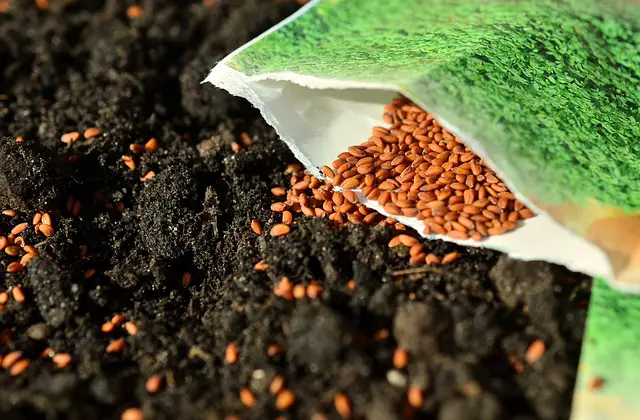
In nature the seed will lay dormant in the soil until conditions are right and then it will grow. Armed with that knowledge us gardeners can get a jump on nature by providing the optimum conditions for growth. Those conditions are some sort of growing medium, the vitality of the soil is unimportant for germination.
The other needs I mentioned earlier, temperature and water. So consistency of temperature and water is the key here. I have found 2 inexpensive methods that will speed up the germination process they are:-
- Using kitchen paper towels with zip lock bags
- Starter Coir Pellets in plastic containers
How to Germinate Seeds Quickly
Method #1 Kitchen paper and zip lock bags
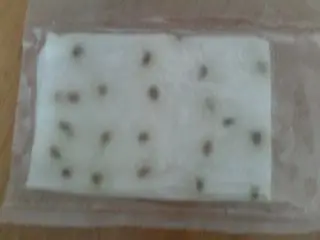
soak kitchen paper with water, individually place seeds on paper, fold paper, place in zip lock bags and keep somewhere warm. Check every day because germination under these conditions can be surprisingly fast. 2 days is my record, once seeds have germinated pot on in the usual way.
Don’t try to separate the seeds from the paper, just tear the paper and plant seed with the paper attached. As the plant grows the paper will decompose without hindering plant growth or development. This is a very quick way to germinate seeds but it can be fiddly especially if you have large work mans hands like me.
Method #2 Starter Coir Pellets and plastic containers

By far the easiest way to germinate seeds quickly, these flat coir pellets expand to about 4 times their original size when soaked in water. Then sow seed in each pellet, add plant marker and place in plastic container. I find sweet containers work well for this, they are deep enough, hold water and have a lid to keep heat in.
3-4 days is the fastest germination I have achieved using this method so remember to check regularly. Whichever method you use, you will need to find somewhere warm for the germination process to begin. The ideal place in my house is on top of the boiler (water heater) but a warm airing cupboard will work as well.
Check your seed packets to find out which temperature your particular seeds need to germinate but the above methods will provide sufficient heat for most seeds. I have had success with both these methods on various seed types including:-
- Tomatoes
- Chillies
- Squash
- Melons
- Water Melons
- Cucumbers
- Peas
- Sweet Peas
- Many Flowers
- Plus many more
Other Germination Techniques
If you have one, or if you can afford to buy one, an electric propagator will provide the required heat without using the boiler or airing cupboard. A unheated propagator can also be used but you will need to provide some heat and propagators are generally too big to fit on boilers or in airing cupboards. Another method is to wait until the weather warms up and direct sow the seeds the problem is there are too many variables and it takes time.
Leggy Seedlings
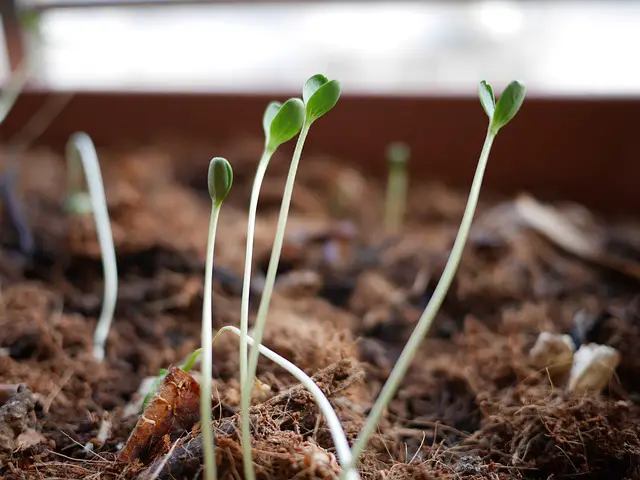
Once the seeds have germinated, they will need to be moved out of their dark place and exposed to the sunlight. If it is too cold to put them out doors, pot them on and place them by a window. This can cause it’s own problems, too much heat and not all round sunlight will cause your seedlings to get leggy.
This term refers to the seedlings becoming over long and straggly. The solution is sunlight on all sides, in most houses this is not possible. There is however an easy fix for this, I call it the foil house.
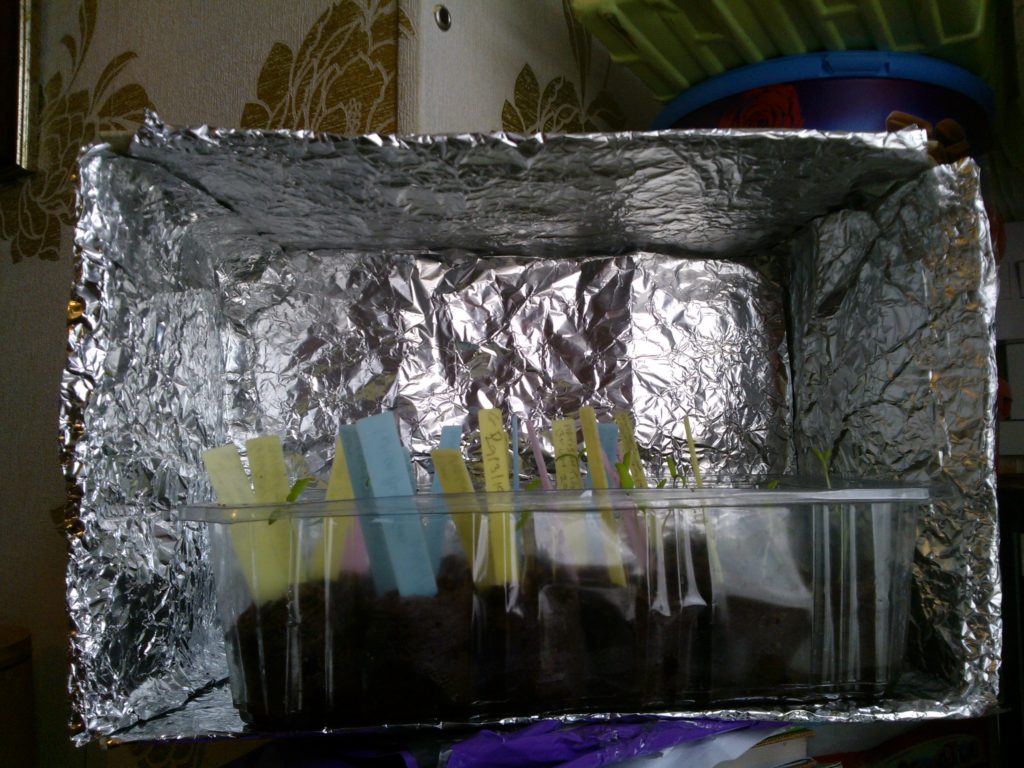
It consists of a cardboard box lined with kitchen foil. The trick is to screw the foil up and then gently flatten it and attach it to the inside of the box with sticky tape. By screwing the foil up and flattening out again you create many reflective angles for the sunlight.
This makes the whole of the interior of the box reflect sunlight to all plants in the box. This will prevent plants growing too tall and straggly. so to prevent leggy sunflower seedlings and keep them contained and upright,the foil house is the answer.
Protecting Tender Plants
Why do we need to keep our young seedlings in the warm? It’s because they are too delicate to survive extreme temperature changes. All seedlings started off in a unnatural environment will need to be treated as tender plants.
The foil house is a step towards your seedlings final growing positions. First they are germinated with extra heat, then they are given added light, and then they can be introduced to the outside world. This is done gradually, for a few hours a day at first increasing daily until they can survive fully outdoors this is called hardening off.
Hardening Off Plants

Once all threat of frost is gone from your area, you can start to acclimatise your tender, young plants to the outside. This process is known by gardeners as hardening off and is done over a 7-10 day period. Find a sheltered spot in your garden where your seedlings will not be exposed to very harsh sunlight or strong winds.
Leave the seedlings outside for 2-3 hours, increasing to all day over the 10 day period. Decrease the amount of water you give to your plants to simulate conditions in the garden. Bring plants indoors every evening.
Protect your seedlings from strong sunlight, harsh winds and heavy rainstorms.On day 11 plant your seedlings in their final growing positions and treat as adult plants from then on. I always add a handful of Epsom salts to the watering can to help prevent transplant shock and encourage healthy growth.